DIY Soap Making: Natural Recipes for Beautiful Skin
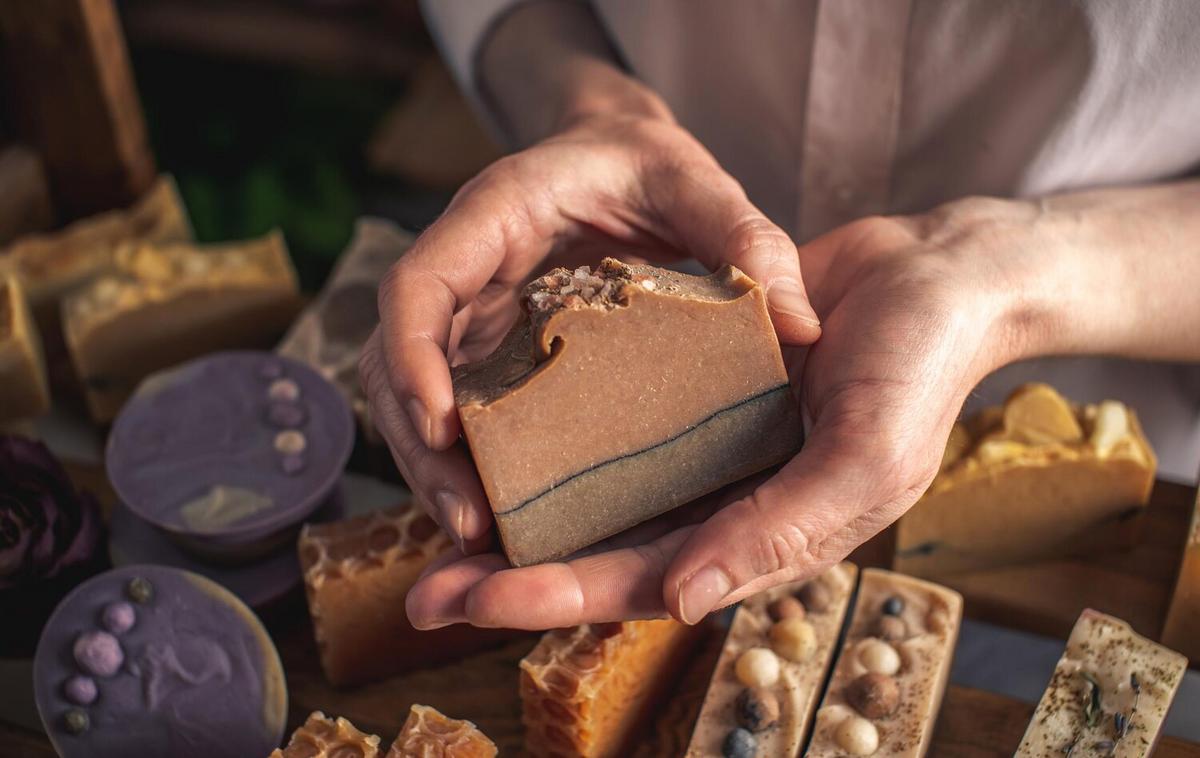
Are you ready to dive into the world of DIY soap making and discover how natural ingredients can transform your skincare routine? Crafting your own soap not only brings the joy of creativity but also ensures that what you use on your skin is pure and beneficial. Let’s explore how you can create beautiful, natural soaps at home.
Why DIY Soap Making?
Creating your own soap gives you control over the ingredients, allowing you to avoid harsh chemicals and opt for natural alternatives that are kinder to your skin. According to a study published in the Journal of Dermatology, natural oils and ingredients can significantly improve skin hydration and texture.
Benefits of Natural Soap
- Gentle on Skin: Natural soaps are free from synthetic additives, making them less likely to cause irritation.
- Eco-Friendly: Homemade soaps reduce your environmental footprint by minimizing plastic waste and using sustainable ingredients.
- Customizable: Tailor your soap to suit your preferences and skin needs with endless combinations of natural oils and scents.
Getting Started: Essential Ingredients
To create your own soap, start with these basic ingredients:
| Ingredient | Purpose |
|---|---|
| Coconut Oil | Moisturizing and lathering |
| Olive Oil | Nourishing and gentle |
| Shea Butter | Hydrating and conditioning |
| Essential Oils | Fragrance and therapeutic benefits |
| Lye | Soap formation |
| Distilled Water | Mixing with lye |
| Natural Colorants | Aesthetic appeal |
| Botanical Additives | Exfoliation and texture |
Steps to Make Natural Soap
- Prepare Your Workspace: Set up a clean and organized area, and wear protective gear like gloves and goggles.
- Mix Lye and Water: Carefully mix lye with water and let it cool.
- Melt Oils and Butters: In a separate pot, melt your chosen oils and butters.
- Combine Mixtures: Slowly add the lye solution to the oils, stirring until it reaches ‘trace’.
- Add Extras: Mix in essential oils, colorants, and botanical additives.
- Pour into Molds: Transfer the mixture into soap molds and let it set for 24-48 hours.
- Cure the Soap: Allow the soap to cure for 4-6 weeks to harden and develop.
Expert Insight
According to skincare expert Dr. Linda Matthews, “Natural soaps are an excellent choice for those seeking gentle skincare solutions. The ability to customize ingredients makes DIY soap an appealing option for individuals with sensitive skin.”
FAQs
How long does homemade soap last?
Homemade soap can last up to a year if stored properly in a cool, dry place.
Can I use fresh herbs in my soap?
Yes, but dried herbs are recommended to prevent mold growth.
Conclusion: Embrace the Art of Soap Making
With the right ingredients and a little creativity, you can craft beautiful soaps that nourish your skin naturally. Start your soap-making journey today and enjoy the satisfaction of creating products tailored just for you. For more DIY craft ideas, check out resources on craft blogs or online hobby communities.


