How to Install a DIY Backsplash in Your Kitchen
Transforming your kitchen can be as simple as adding a backsplash, a project that combines functionality with aesthetic appeal. Installing a DIY backsplash is an exciting home improvement task that enhances your kitchen’s look while protecting your walls from spills and stains.
Understanding Your Backsplash Options
Before diving into installation, it’s crucial to choose the right material. Tile, glass, metal, and peel-and-stick panels are popular options, each offering unique benefits. According to a study by the Home Improvement Research Institute, homeowners who invest in kitchen upgrades often see an increase in overall satisfaction and resale value.
Tools and Materials You’ll Need
- Tile or chosen material
- Adhesive or mortar
- Grout
- Tile cutter
- Trowel
- Level
- Sponge
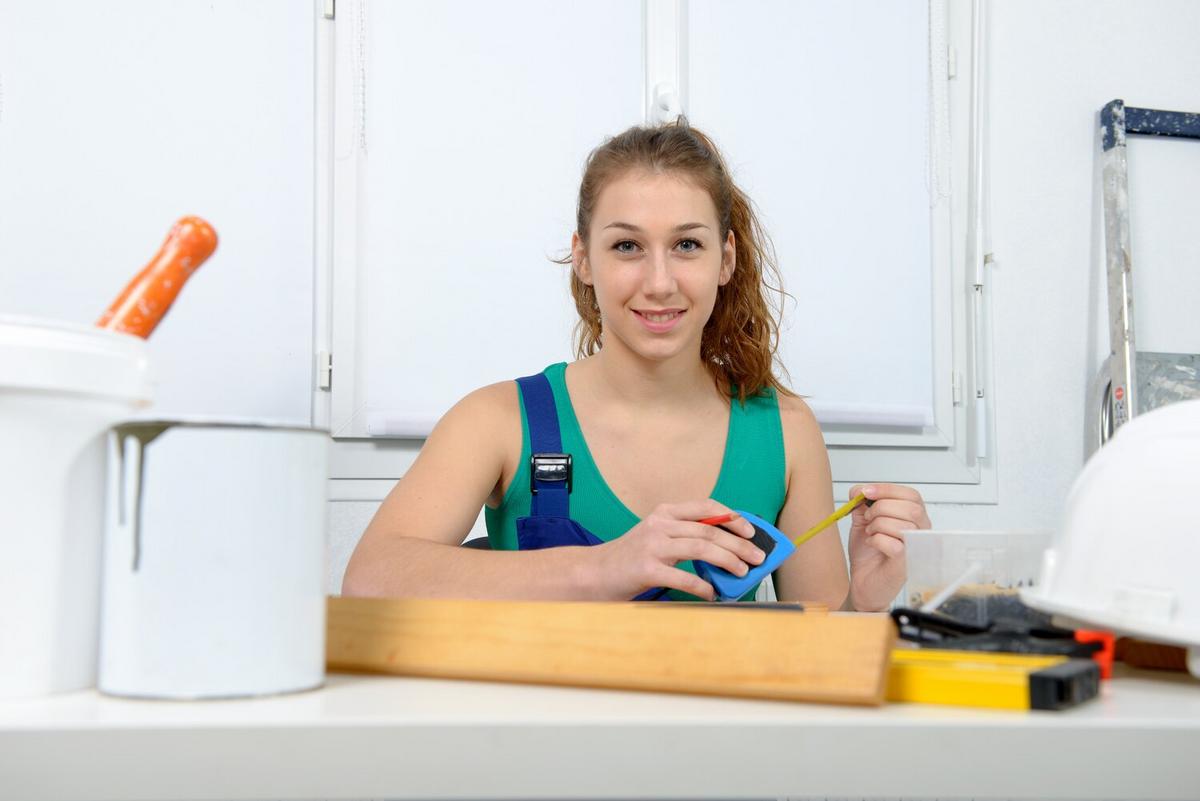
- Measuring tape
Step-by-Step Installation Guide
1. Prepare the Wall
Begin by cleaning the wall thoroughly. Remove any grease or dirt to ensure the adhesive sticks properly.
2. Plan Your Layout
Measure the area and plan the layout of your tiles. A dry fit helps visualize the final outcome and minimizes errors.
3. Apply Adhesive
Using a trowel, spread the adhesive evenly on the wall. Work in small sections to prevent it from drying before you place the tiles.
4. Set the Tiles
Place the tiles onto the adhesive, using spacers to ensure even gaps. Check alignment with a level regularly.
5. Cut Tiles to Fit
For edges and corners, use a tile cutter to trim tiles to the required size. Safety glasses are recommended during this step.
6. Grout the Tiles
Allow the adhesive to dry for 24 hours, then apply grout using a rubber float. Wipe excess grout off with a damp sponge.
Pro Tip: Seal the grout once it has dried to make it water-resistant and prolong its life.
Common Mistakes to Avoid
- Not preparing the wall properly
- Skipping the dry fit
- Applying too much adhesive
Cost Comparison Table
| Material | Cost per Square Foot | Durability | Ease of Installation |
|---|---|---|---|
| Tile | $5-$15 | High | Moderate |
| Glass | $7-$30 | High | Difficult |
| Metal | $10-$25 | Very High | Difficult |
| Peel-and-Stick | $3-$10 | Moderate | Easy |
Frequently Asked Questions
How long does it take to install a backsplash?
On average, a DIY backsplash installation can take one to two days, depending on the complexity and size of the area.
Can I install a backsplash over existing tiles?
Yes, but ensure the old tiles are well-bonded and clean. A layer of primer may be necessary for better adhesion.
Conclusion
Installing a DIY backsplash can be a rewarding project that adds value and style to your kitchen. With careful planning and the right materials, you can achieve a professional-looking finish. Ready to transform your space? Gather your tools and start today!


